How to install disposable head rest cover quickly?
Elasticity, pre-cut slits, and universal fit: Engineering for speed
Head rest covers made to toss away after use work great in places where things get turned over fast. The edges have good quality stretch that goes over all sorts of headrest shapes without ripping, so they fit tightly without gaps within seconds. There are pre-made cuts that match up with the usual posts found on cars, trucks, and even those big commercial rigs, so no fiddling around needed. Most people find these covers fit almost every standard headrest out there, something backed up by research in car cleanliness. Putting them on takes just one hand, leaving the other free to grab tools or reach into the vehicle. This speed matters a lot at car dealerships and rental companies, since cutting down how long it takes to service each vehicle means getting more done overall. Plus, once installed, these covers stay put when passengers get in and out, keeping everything clean until they're ready to throw them away.
The 3-Step Disposable Head Rest Cover Installation Method
Step 1: Safe headrest adjustment (no tools required)
Find the headrest release near the bottom of those posts where they attach to the actual seat itself. Push down on whatever button or lever is there while slowly lifting upwards until the headrest can't go any higher. Getting it all the way up gives plenty of room when putting covers on later. Cars usually let these things move about four to six inches vertically so make sure it stays fully extended throughout installation. Studies show people who lift their headrests first end up making mistakes less often during installation because fabrics don't get caught as easily. Don't ever try to force anything though. If something feels stuck, look around for those pesky child safety locks or just flip through the car's manual. Taking this quick second step makes everything else work better and keeps expensive upholstery looking good too.
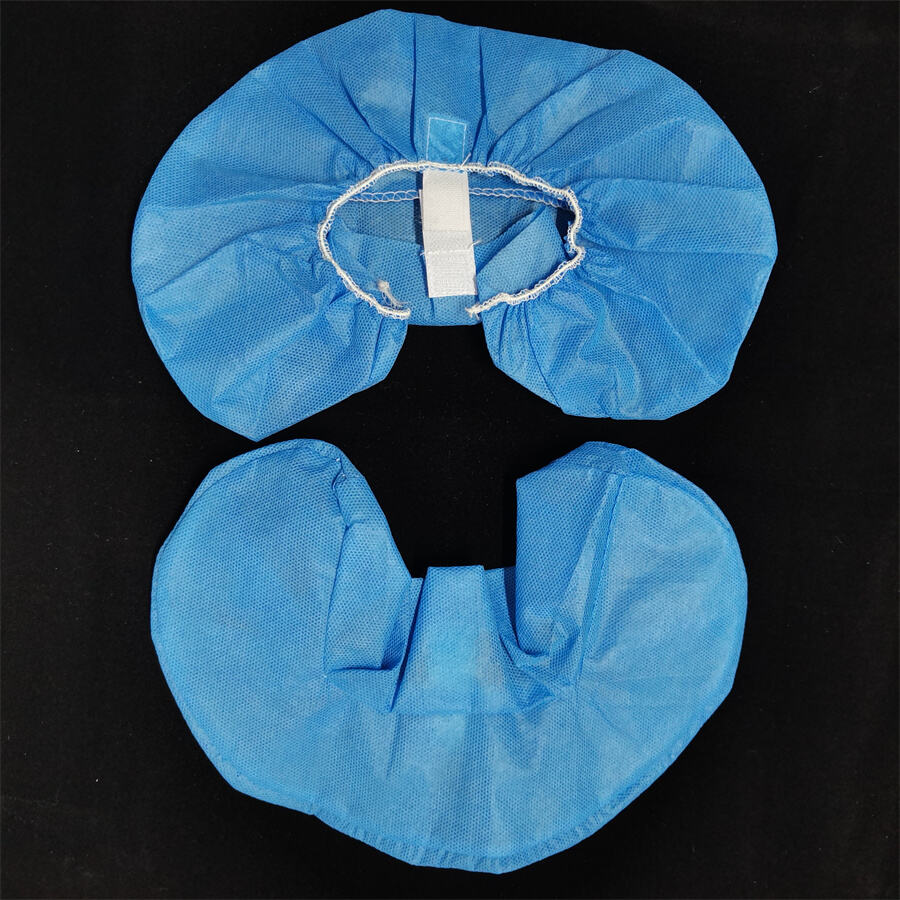
Step 2: One-handed stretch-and-snap application technique
Grab those top corners of the cover first, making sure those little cutouts line up with whatever posts are holding up the headrest. Now take whichever hand feels strongest and pull down on that elastic edge in kind of a quick U shape movement. Start with the left side post, then move to the right one so the fabric clicks right into position. Most people find that the stretchy part works well even if the posts aren't super thin, handling anything up to about 1.5 inches thick pretty easily. We've seen some timing stats floating around from manufacturers claiming installation happens faster than seven seconds per headrest. When putting it on, don't go crazy stretching or else things might get damaged. A few wrinkles here and there? Totally normal stuff really. Just give it a minute or two once installed and watch how those fabrics magically smooth themselves out again.
Step 3: Instant alignment check and tension adjustment
Check out the cover from all sides really. The middle seam needs to run straight down where the seat sits, and those slits around each post? They should wrap completely around without gaps. When things aren't lined up right, just grab a corner between thumb and finger and give it a gentle slide until everything matches up. Want the fabric tight but not pulling too hard? Run your hand from the middle outwards towards the edges, kind of massaging the material into place as you go. A good fit means no drooping but still enough slack so a single finger can wiggle under the edge. Wrap things up by stuffing any extra fabric into those little pockets on the posts for something that looks neat and tidy. Take about five seconds for this quick check and save yourself headaches later on when covers start shifting around unexpectedly.
Adapting Disposable Head Rest Cover Installation for Different Vehicles
Sedans, SUVs, and commercial fleets: Fit variations and pro tips
The shape and size of headrests changes from one vehicle type to another, which makes disposable covers behave differently when applied. Sedans usually come with those skinny, narrow headrests. What most people find works best is lining up those pre-cut slits straight up and down first, then stretching them out sideways so they don't tear easily. When dealing with SUVs, things get trickier because their headrests tend to be much bigger and bulkier. The secret here lies in using that four-way stretch capability of the material by tugging at it diagonally instead of just left to right. This helps spread out the tension more evenly across the surface. Commercial vehicles like vans and buses present their own challenges since all seats look pretty much alike. A good approach for these situations is starting with securing the very top center point first, then working outward from there to flatten out any wrinkles without bunching up the fabric somewhere else.
Most universal fit covers should work on pretty much any modern vehicle out there, though it's smart to check just how thick those headrests actually are compared to what the specs say. Sometimes there are little gaps left after putting them on. When that happens, try loosening up one side a bit then pulling it back into shape while keeping the other side fixed in place. Don't go too crazy tightening things right at the seams because that can cause problems down the road. Good installation means the cover should mold itself around all the curves and not slip off when someone moves their seat forward or backward. This keeps everything clean underneath where dirt and germs tend to collect over time.